It's safe to say that we can all appreciate a great brow arch whether you prefer a subtle, slightly straighter brow, or a bolder, more angled arch. Here in the UK where Eyeko HQ is based, we're still not able to go to salons to tend to our unruly brows but fear not, we have all the tools you need to arch like a pro and create your best brows yet!
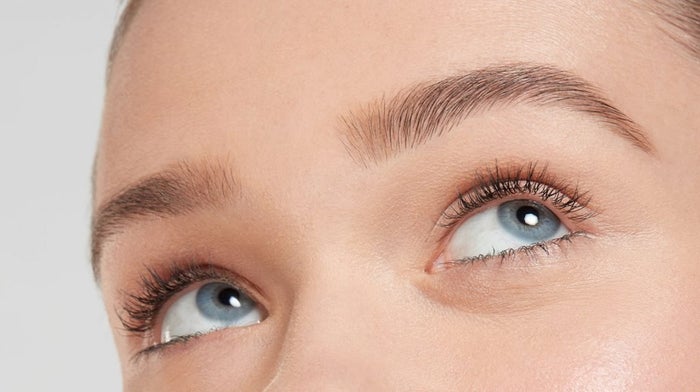
The first step to perfect brows is to understand how to shape your brows to suit and complement your face shape. This is called brow mapping. Follow our step by step guide below to ensure your brows start, arch and end in the right place.
How to Map Your Brows
Grab your Define It Brow Pencil and hold it against your nose, angled upwards to the inner corner of your eye. This will show you where your brow should start. (If you don't have a Define It Brow Pencil yet, you could use a makeup brush, eyeliner or something similar.)
Next, hold your Define It Brow Pencil against your nose and angled upwards through the centre of your eye. You'll need to be looking straight ahead for this step. This will show you where your brow should arch. How steep of an arch you want is totally up to you!
The final step to map your brows is to work out where your brow should end. To find this, take your Define It Brow Pencil and hold it against your nose, angled upwards towards the outer corner of your eye.
You can make small marks at each stage using your Define It Brow Pencil to use as a template for shaping your brows!
How to Shape Your Brows
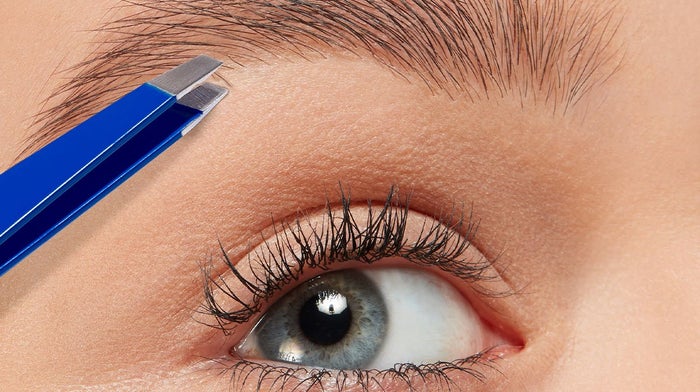
Now that you have mapped your brows and know where they should start, arch and end, you can start to remove any extra brow hairs that are out of place. Use our Tweeze It Tweezers for precision plucking. Take this step slowly, and make sure you keep stepping back from the mirror to look at your full brows as it's easy to get a little pluck-happy and remove too many hairs! When plucking hairs out, try to ensure you only grab one hair at a time with your tweezers, and pull quickly in the direction that your hair grows in. This will help to reduce redness.
How to Fill and Define Your Brows
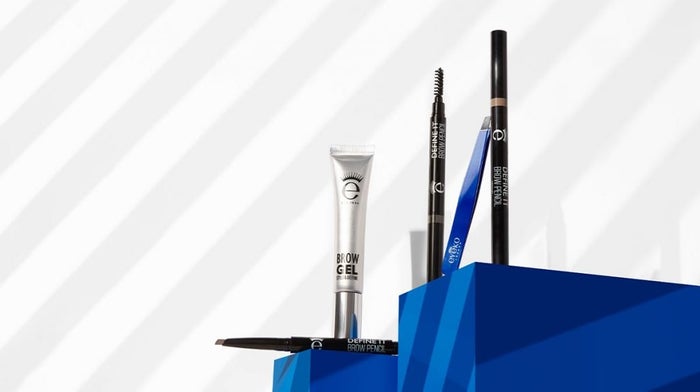
The final step to arch like a pro is to fill in any sparse areas and define your brow shape. Using your shade of Define It Brow Pencil, add in definition and depth by creating hair like strokes along your brows. For best results, add each hair stroke following the direction of growth of your brows.
Once you've filled any sparse areas, use our Brow Gel to brush brows into place, add a flexible hold, and a subtle wash of colour suitable for all brow colours.
Have you tried brow mapping? Which of our brow products have you used?
Related Articles