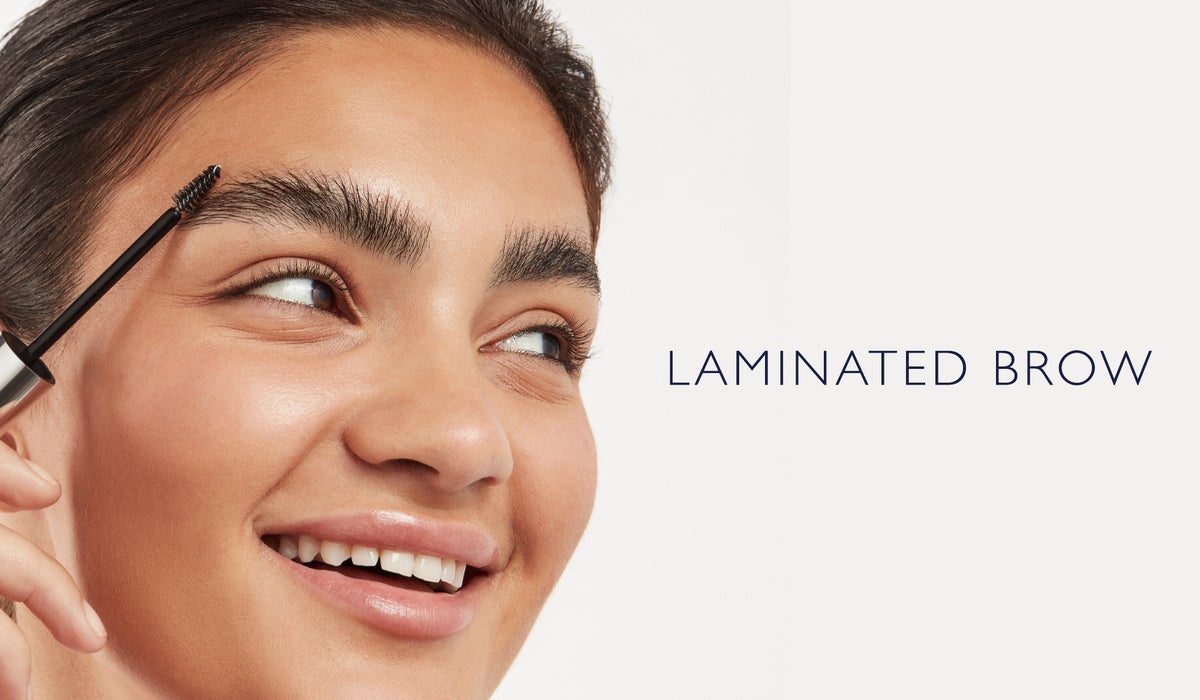
Shop all brow products
-
Brow Gel Travel Size - Tinted
SAVE 80%
Discover 80% off. Shop now - only available whilst stocks last! Discount applies to RRP.Shop NowMSRP: $14.00$2.80 -
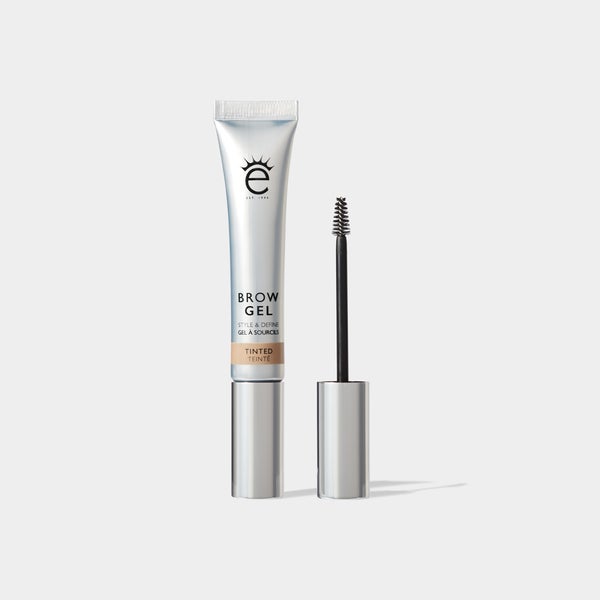
Brow Gel - Tinted
SAVE 80%
Discover 80% off. Shop now - only available whilst stocks last! Discount applies to RRP.Shop NowMSRP: $23.00$4.60 -
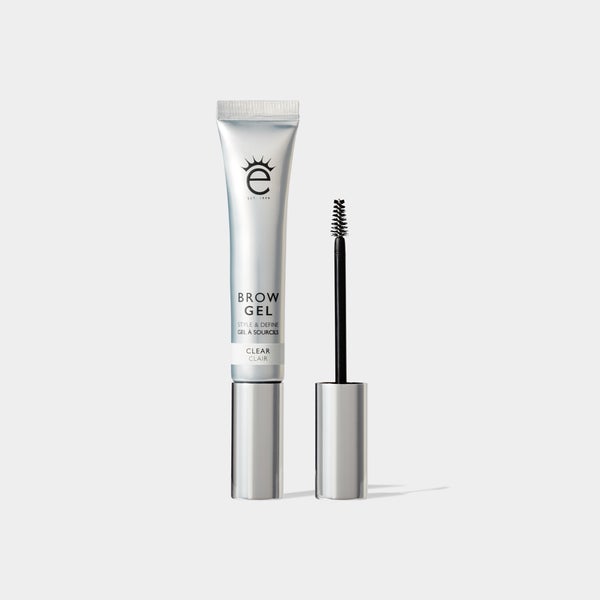
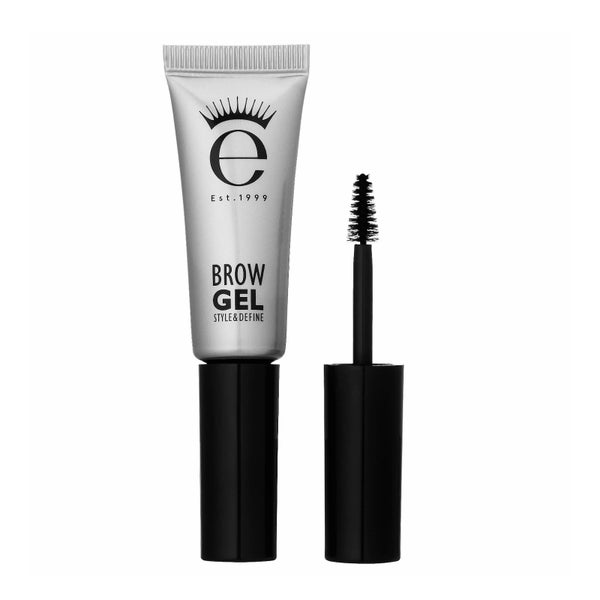
Brow Gel - Clear
SAVE 80%
Discover 80% off. Shop now - only available whilst stocks last! Discount applies to RRP.Shop NowMSRP: $23.00$4.60 -
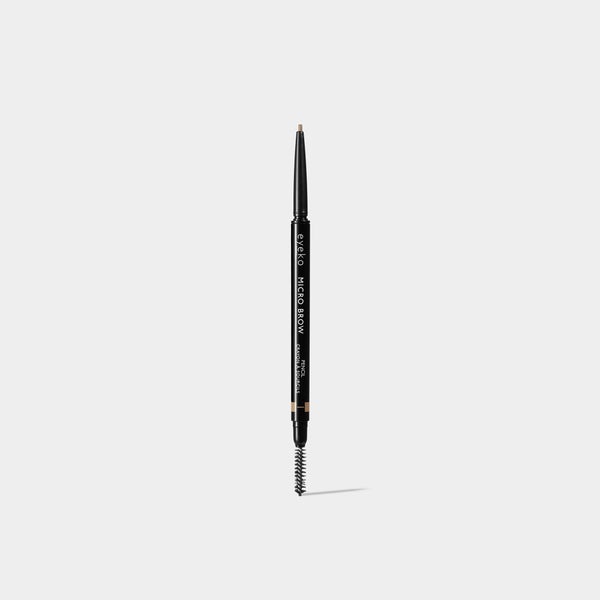
Micro Brow Precision Pencil (Various Shades)
SAVE 80%
Discover 80% off. Shop now - only available whilst stocks last! Discount applies to RRP.Shop NowMSRP: $21.00$4.20 -
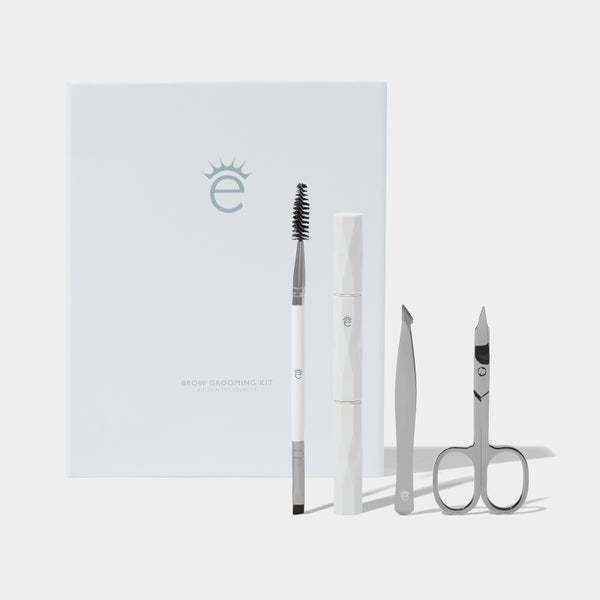
Brow Grooming Kit
SAVE 80%
Discover 80% off. Shop now - only available whilst stocks last! Discount applies to RRP.Shop NowMSRP: $30.00$6.00 -
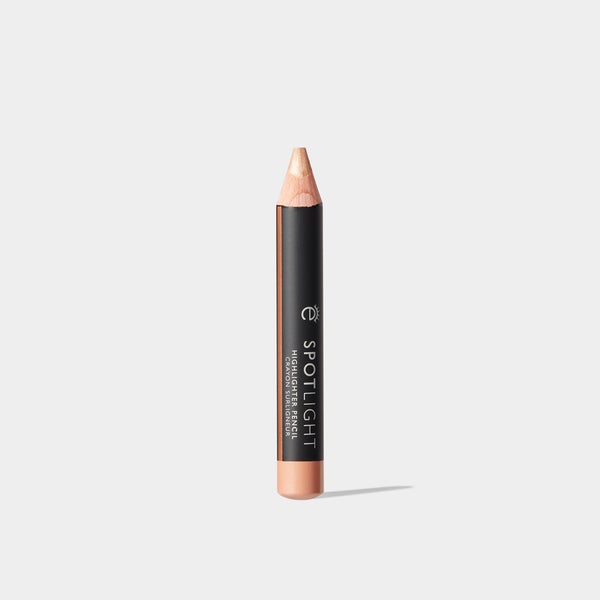
Spotlight Highlighter Pencil (Various Shades)
SAVE 80%
Discover 80% off. Shop now - only available whilst stocks last! Discount applies to RRP.Shop NowMSRP: $18.00$3.60 -
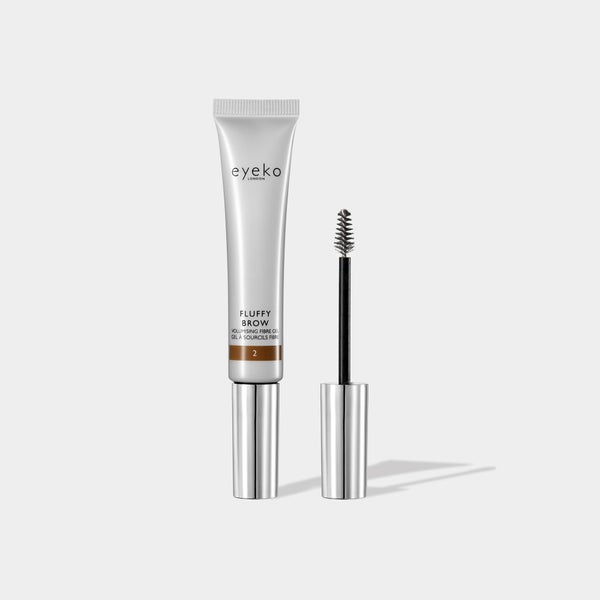
Fluffy Brow Volumizing Fibre Gel
SAVE 80%
Discover 80% off. Shop now - only available whilst stocks last! Discount applies to RRP.Shop NowMSRP: $21.00$4.20
Added to your cart
Sorry, there seems to have been an error. Please try again.
Product Name
Quantity
Subtotal: ( items in your cart)